
Using Nameservers in cPanel & Plesk: How to Properly Point Your Domain on AVIOX Cloud
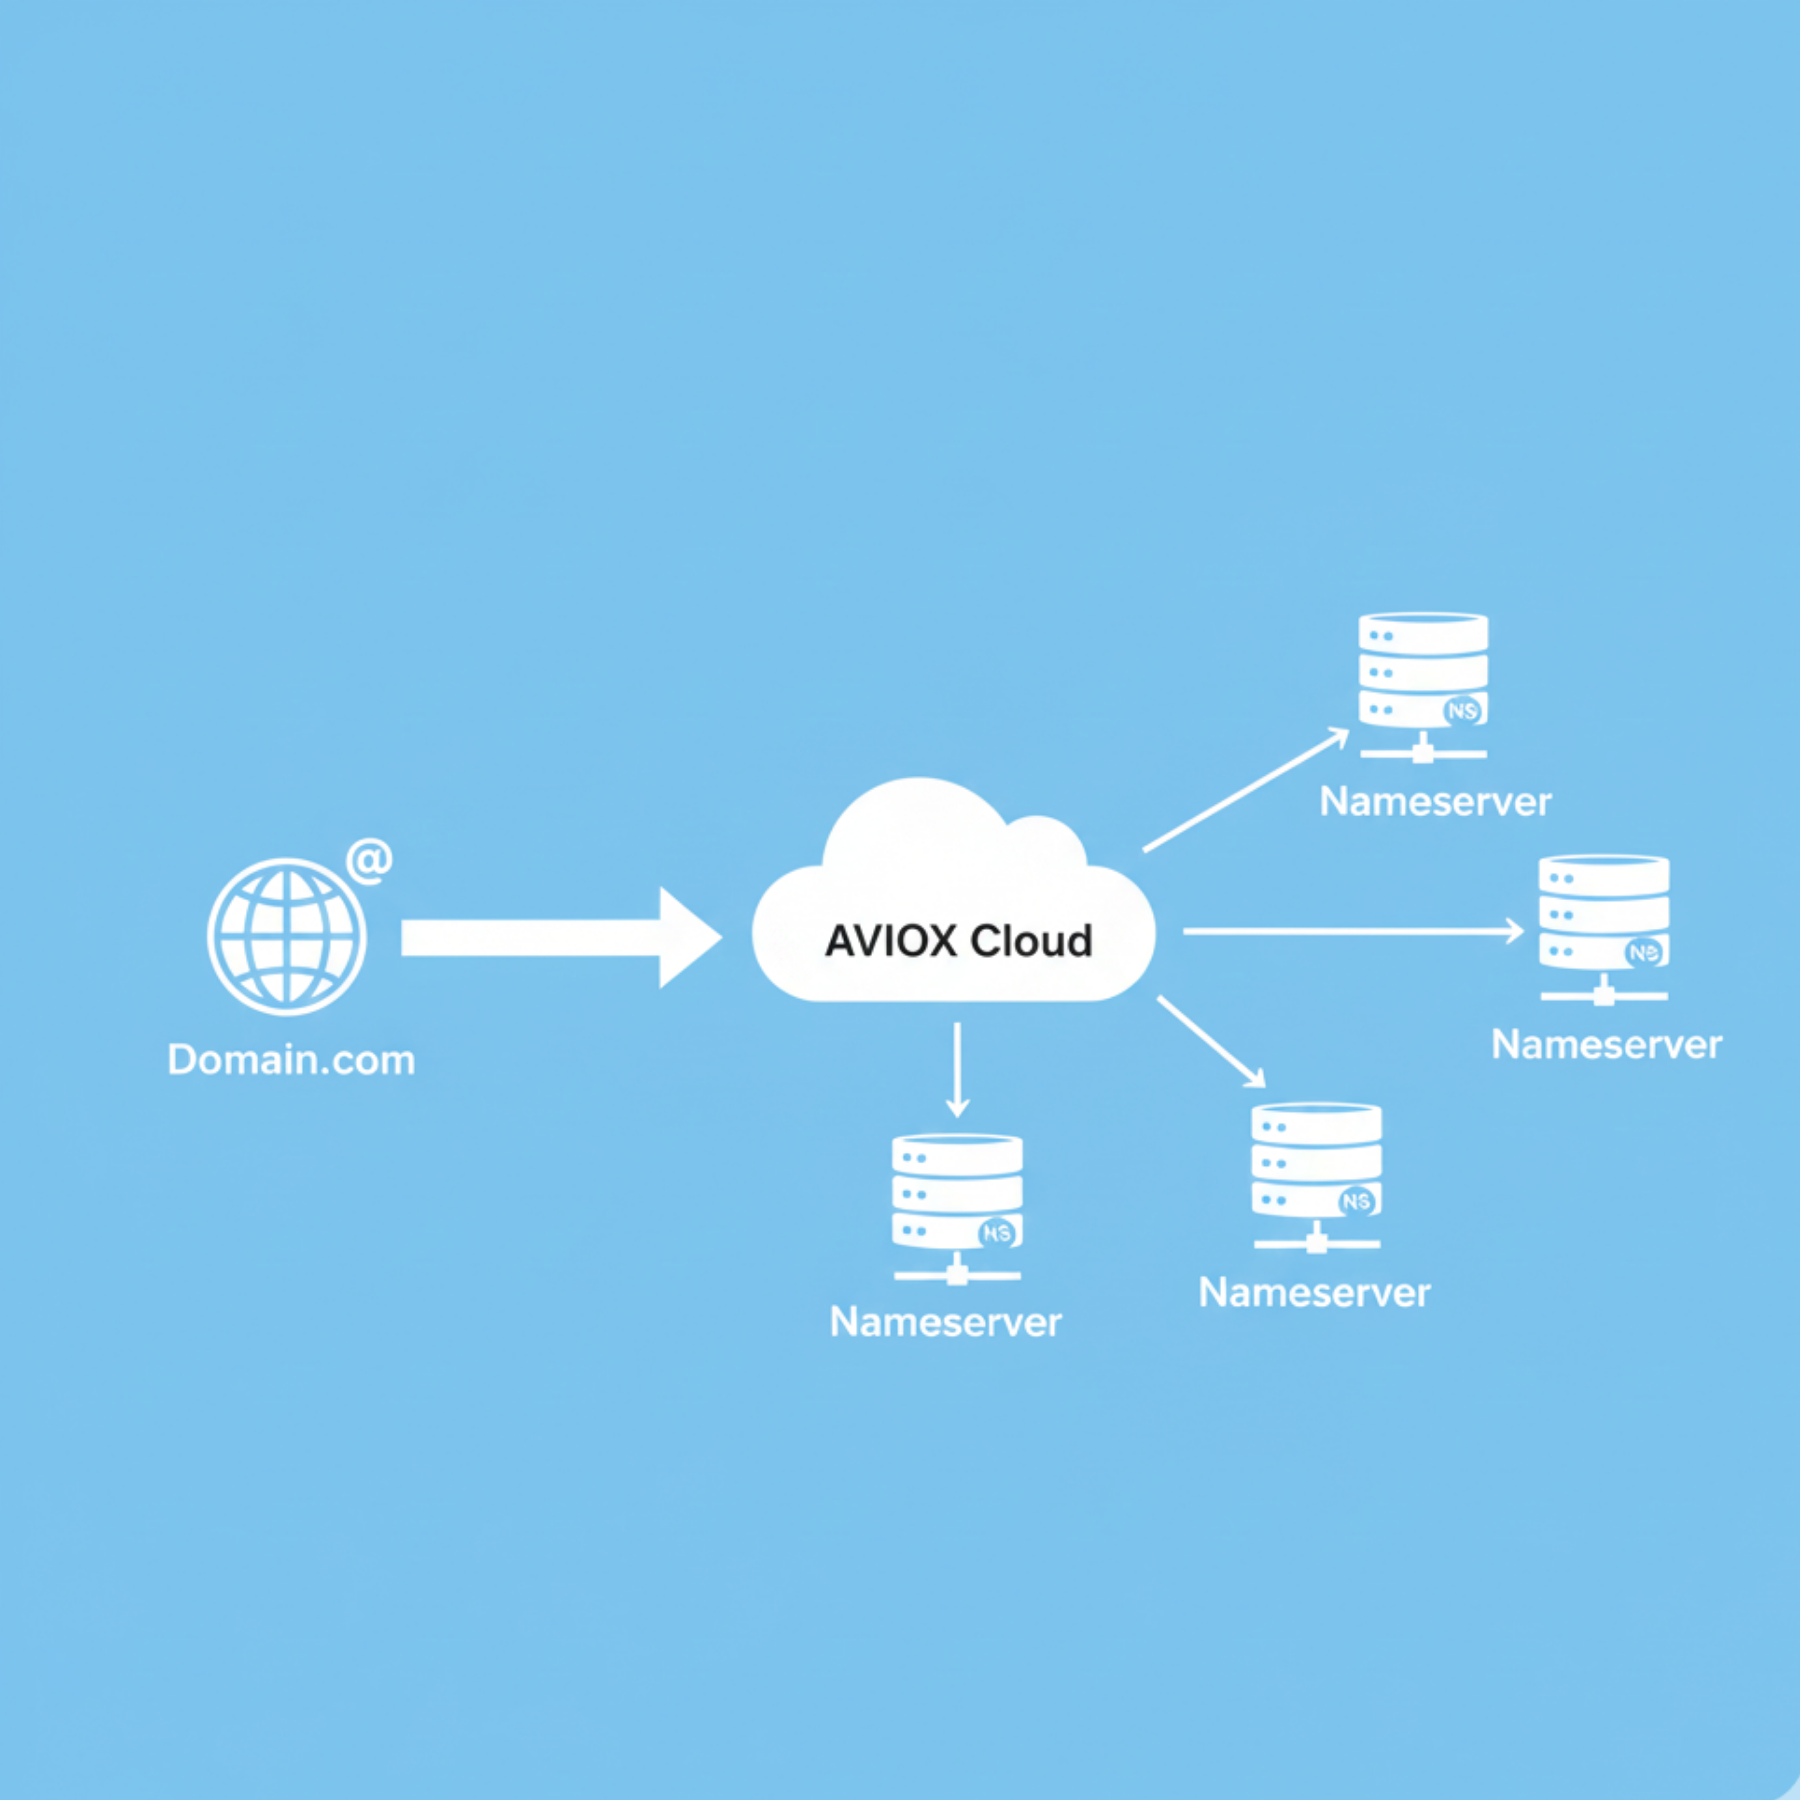
When hosting a website on AVIOX Cloud, one of the most important configuration steps is setting up your nameservers correctly. Nameservers determine where your domain points, how your website loads, and how services like email, subdomains, and SSL certificates function. Whether you use cPanel or Plesk, understanding DNS and nameservers is essential for stable, high-performance hosting.
This comprehensive guide walks you through how nameservers work, when to use custom nameservers, how to point your domain to AVIOX Cloud, and how to manage DNS from both cPanel and Plesk. If your website is loading inconsistently or your domain isn’t resolving, incorrect nameserver configuration is often the cause — this guide will help you avoid that.
What Are Nameservers and Why They Matter
Nameservers act like an address book for the internet. When someone types your domain name, nameservers tell the browser where your website files are stored. Without correct nameservers, visitors will see errors or your site simply won’t load.
AVIOX Cloud supports:
- Default nameservers
- Custom private nameservers (ns1.yourdomain.com, ns2.yourdomain.com)
- External DNS providers like Cloudflare
Using correct nameservers ensures:
- Fast global website loading
- Proper domain routing
- Working email records (MX, SPF, DKIM)
- Successful SSL certificate installation
- Accurate DNS propagation
Pointing Your Domain Using Nameservers
When you purchase a domain from GoDaddy, Namecheap, or any registrar, you must point it to your hosting. This is done by replacing the registrar’s nameservers with the nameservers provided by your AVIOX Cloud setup.
You have two options:
Option 1: Use AVIOX Cloud or Panel Default Nameservers
If your cPanel or Plesk server includes default nameservers, simply update them at your registrar.
Option 2: Use Custom Nameservers
These look like:
- ns1.yourdomain.com
- ns2.yourdomain.com
These provide branding and full DNS control.
Steps:
- Create A records for ns1 and ns2 in your DNS zone.
- Register the nameservers at your domain registrar.
- Point the domain to these custom nameservers.
Managing Nameservers in cPanel
cPanel includes a full DNS Zone Editor, giving precise control over your records.
Steps in cPanel
- Log in to cPanel → Zone Editor
- Select your domain
- Review important DNS records:
- A Record (points your domain to your server IP)
- CNAME (aliases like www)
- MX (email routing)
- TXT (SPF, DKIM, verification)
To Use Custom Nameservers
- Create A records:
- ns1 → Server IP
- ns2 → Server IP
- Register custom nameservers at your domain registrar
- Replace existing nameservers with ns1 and ns2
- Wait for DNS propagation (up to 24 hours)
Switching to External DNS
If you use Cloudflare, disable the cPanel DNS zone to avoid conflict.
Managing Nameservers in Plesk
Plesk offers flexible DNS management and supports templates for multiple domains.
Steps in Plesk
- Log in to Plesk → Websites & Domains
- Open DNS Settings
- Choose:
- Plesk DNS (default)
- External DNS
- Customize A, CNAME, MX, and TXT records as needed.
Creating Custom Nameservers in Plesk
- Create A records for ns1 and ns2
- Register custom nameservers with your registrar
- Point all domains to these new nameservers
DNS Propagation and Common Issues
DNS changes take time to spread worldwide. This process may take:
- 10 minutes (fast hosts)
- Up to 24 hours (normal)
- Up to 48 hours (slow registrars)
During propagation, your site may:
- Load sometimes but not always
- Redirect inconsistently
- Fail SSL validation
This is normal and temporary.
Best Practices for Using Nameservers on AVIOX Cloud
- Always keep A and MX records accurate
- Avoid duplicate DNS zones
- Use Cloudflare if you want DDoS protection
- Keep old nameservers removed to prevent routing conflicts
- Verify DNS using tools like DNSChecker
Leave a comment
Your email address will not be published. Required fields are marked *